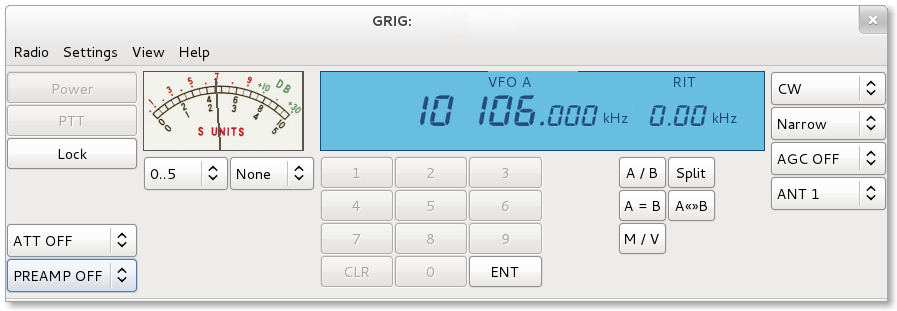
grig is a simple front panel for a radio.
To start grig, click the grig icon:
When started from the menu, grig uses a dummy back end, so you may explore the capability, but your radio will not be affected.
The main window allows for control over most of the actions accessible from a typical radio front panel. Frequency may be increased or decreased by left or right clicking the appropriate digit in the frequency display. Other controls are more or less self-explanatory.
To control the radio, you should start grig from the command line. You must first have your radio connected using the appropriate hardware, which most commonly will be a serial port.
You must provide grig with the model code for your radio, the port and speed, and in some cases, a radio address. You can find the model code by typing rigctl -l. Use man grig or info grig for all the possible switches, but most commonly you will use -m for the model, -r for the port, -s for the speed, and most often, -c for the address.
For example, for an Icom 7000 on
/dev/ttyUSB0, the command would be:
grig -m 360 -r /dev/ttyUSB0 -s 9600 -c 0x70
The
-m 360 is the model code for an Icom 7000, the
-r /dev/ttyUSB0 is the port to which the radio is attached, the
-s 9600 is the baud rate, and
-c 0x70 is the default CIV address for an Icom 7000.
Since you typically will have only a few radios, it may be preferable to create a script, or perhaps edit /usr/share/applications/fedora-grig.desktop to reflect your particular hardware.