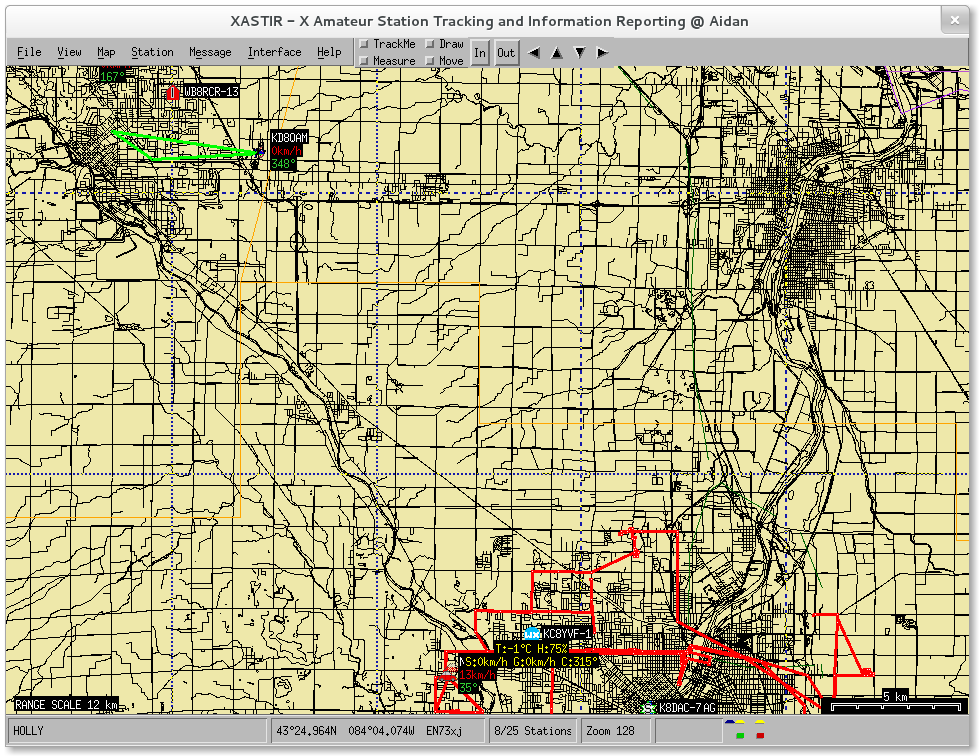
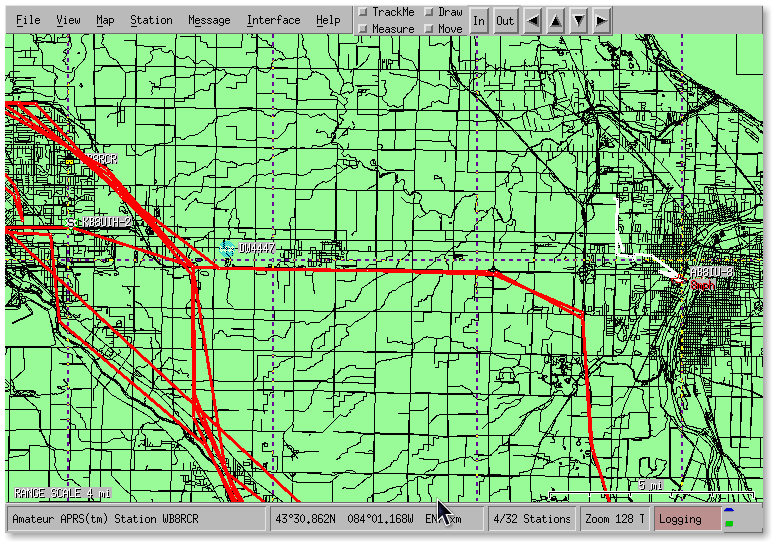
xastir is an APRS application that allows users to send and receive position reports, messages, weather data, and other information over packet radio. Data received is displayed on a map allowing the user to get real-time information about a certain area. The user may also fetch trails from findu.com and display them on the map when connected to the Internet.
The map may be selected from a large number of sources. Facilities are also provided for drawing fixed items on the map as well as making measurements. The user may make specific queries to weather stations and Igates.
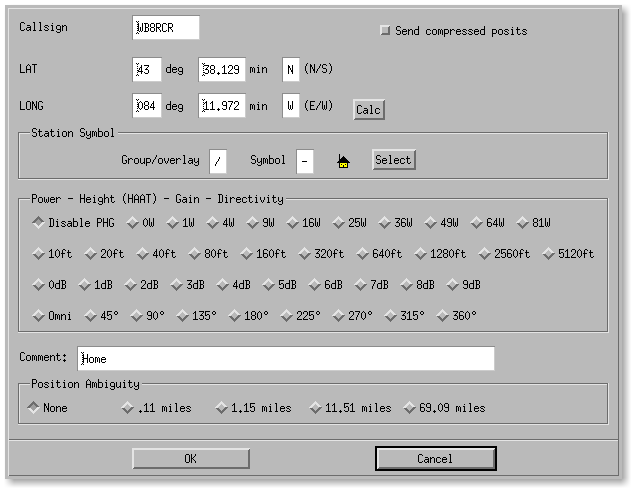
Select from the submenu of the menu. This will bring up a dialog allowing the user to enter basic station information such as call, location, and symbol to be used.
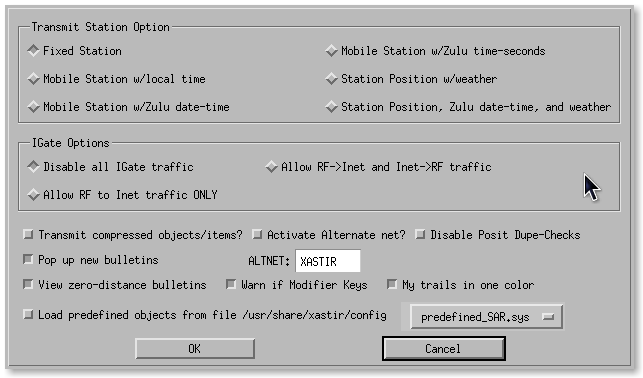
Selecting from the submenu of the menu will elicit a dialog allowing configuration of some common default information, such as whether the station is mobile or fixed and whether to allow IGate traffic.
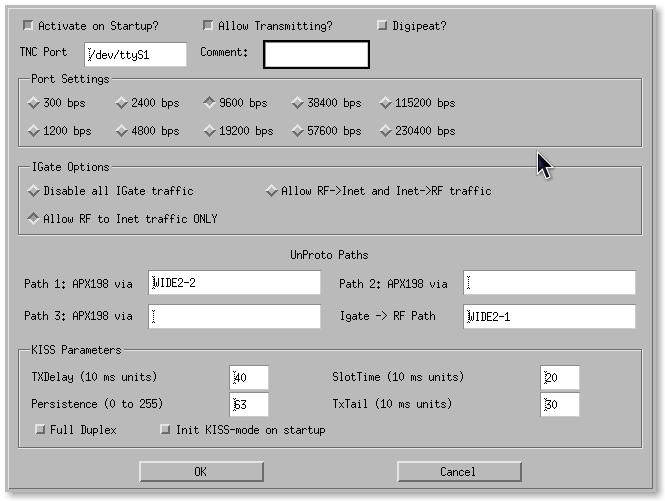
Select from the menu. Click Add and select an interface type. then click Add. A dialog specific to the interface type will appear. The image below shows a KISS TNC as an example, but the operator may select Internet servers, GPS devices and other interfaces as well.
Once interfaces are configured, some small symbols will appear in the status bar toward the lower right of the window. The upper semi-circles represent the various interfaces; different types are shown as different colors. The bottom symbol represents the interface status; green for active, empty for inactive, and red for an error. Between these two symbols an arrow will appear briefly whenever data is being transferred.
xastir comes configured for a number of online map sources, and the documentation includes pointers to many online map sources. Maps may be vector maps or raster maps, and they may be provided in a number of different formats. In general, maps downloaded and stored locally will be retrieved faster than those retrieved online.
Although raster maps often look better, vector maps typically offer better flexibility and performance. You may select a number of maps and raster maps may be overlaid on other maps. You could, for example, select a satellite image background, overlay it with a vector map of roads, and overlay that with weather radar.
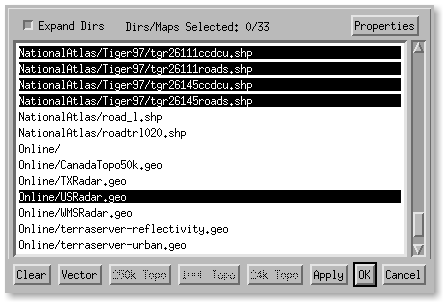
Select from the menu. Highlight those maps desired and click Apply to activate the maps.
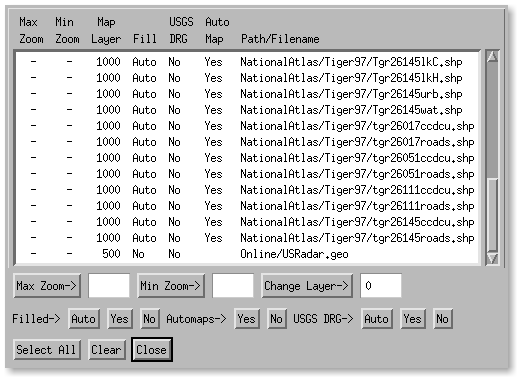
Click Properties on the Map Chooser to activate the Map Properties dialog. This dialog allows you to select the order in which maps will be layered, and whether areas will be filled (when appropriate).
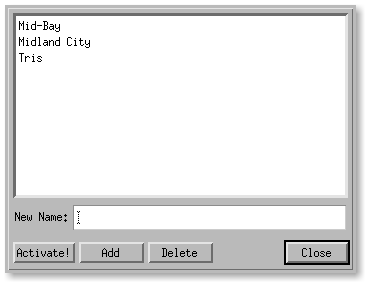
Often one would like to return to a particular view. Select from the menu to bring up the Map Bookmark display. The user may then type a name for the current view in the New Name box and click Add on that dialog to save that view. In the future, clicking Activate! from this same dialog will return to the selected view.
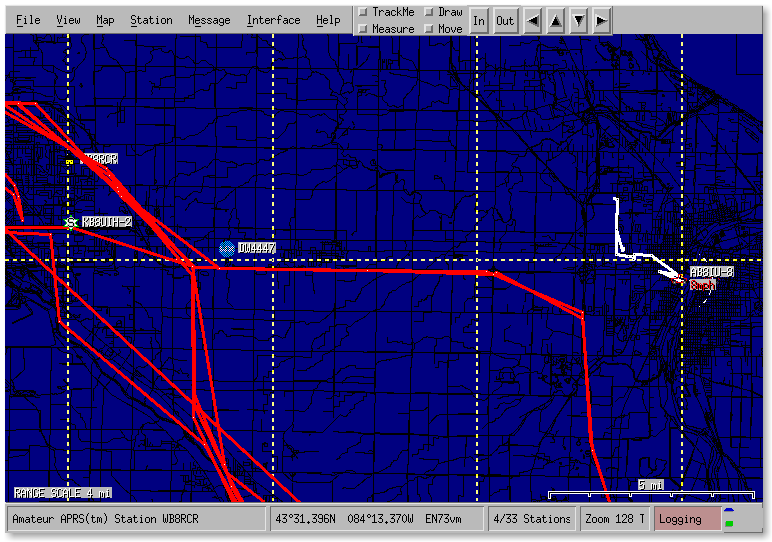
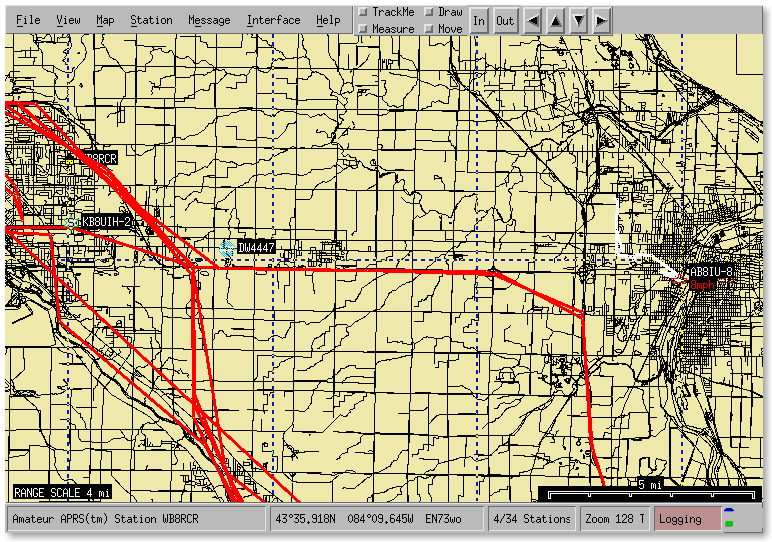
The user may select a background color from the submenu of the submenu of the menu. Note that raster maps or filled areas will cover the background color.
Notice that if a light color is selected as a background on a vector map, the stations can sometimes be difficult to see.
But selecting a background too dark makes the map features difficult to identify, while allowing the stations to stand out. A medium color selection will allow the best of both, although certain uses will lend themselves to an emphasis on one or the other.
Select a text style from the submenu of the submenu of the menu. By selecting Text On Black stations will stand out better when a light background has been selected.
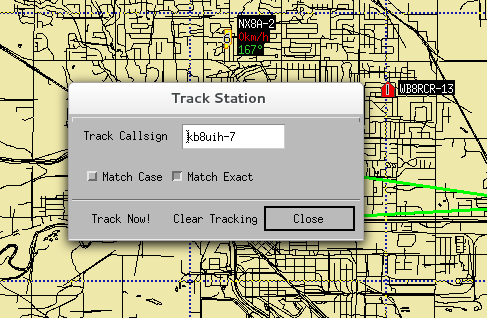
6.3.3. Tracking Stations
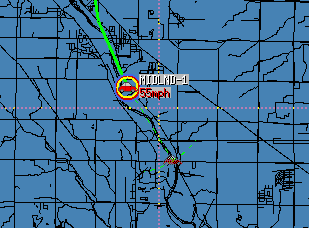
Select from the menu. A dialog will appear allowing the call of a station to be entered. When this station is seen to move, a track will be drawn on the map showing the station's past positions.
If a station which is moving has not been heard from in a while, xastir will use "dead reckoning" to predict where it might be, if dead reckoning has been enabled. Dead reckoning is enabled in the submenu of the menu. "A while" is configured in the menu item of the submenu of the menu.
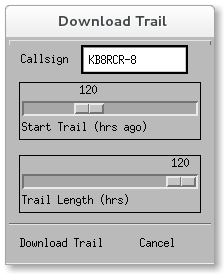
Historical tracks may also be downloaded from the findu website. Select from the menu.
A dialog will appear which allows for the entry of the desired call, as well as two sliders which allow for adjustment of the period for which the trail is desired. It may take some time to download a long trail. The trail will be displayed on the map just as with RF trails.